Overview
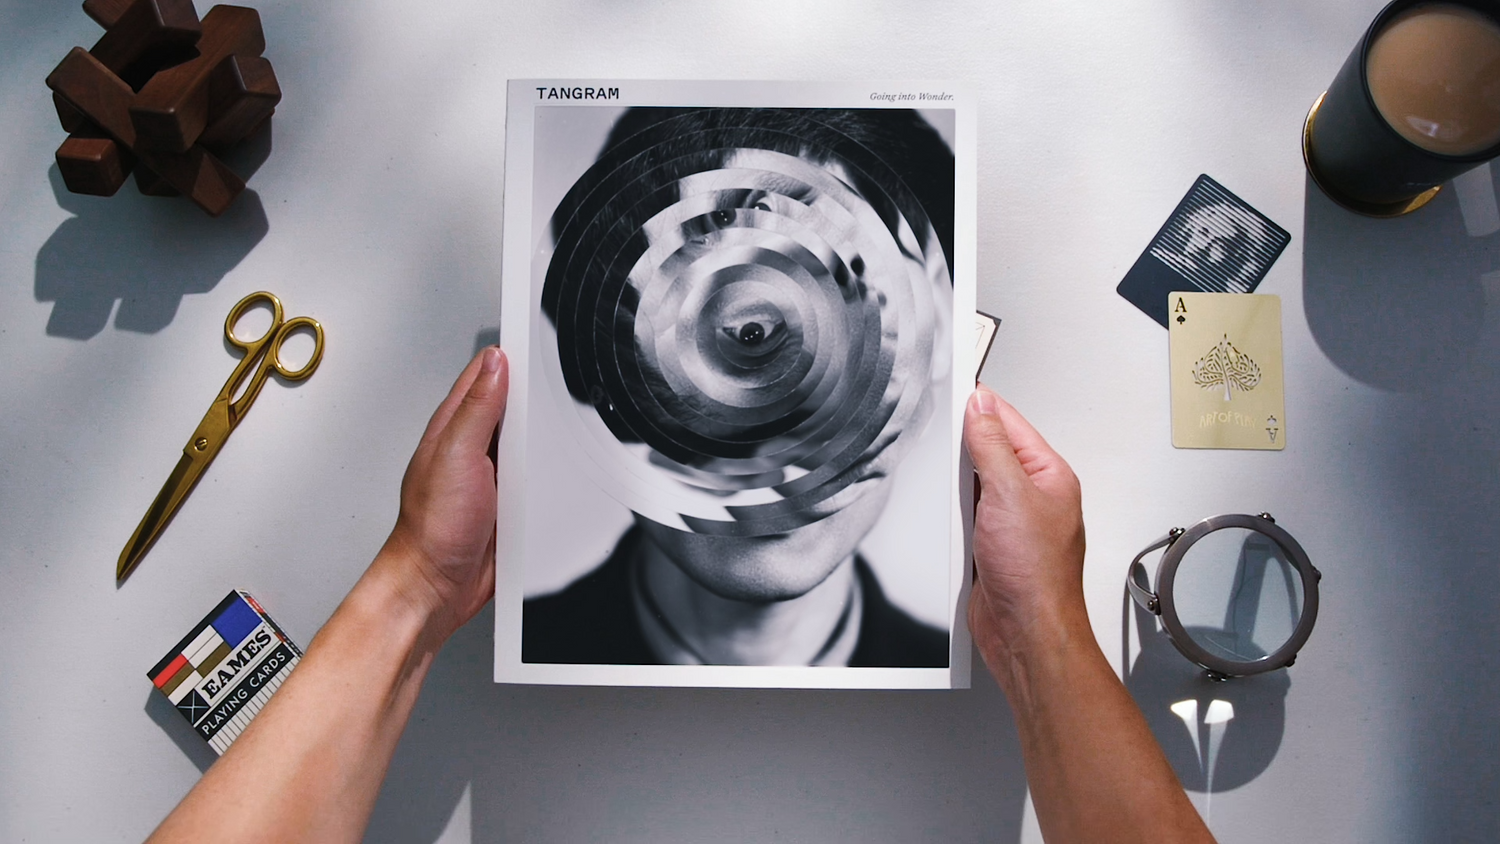
Hidden throughout the pages of Tangram Volume 1 are 6 puzzles, themed around each of the 6 artists featured in the journal.
A small red tangram piece marks the starting point for each puzzle, though a single puzzle may utilize elements on multiple pages throughout the journal. Each puzzle can be solved independently and leads to a word or phrase as the answer.
Combining the 6 puzzle answers with another element in the journal reveals a multi-stage metapuzzle progression. You’ll know you’re fully finished once you’ve looked within and discovered a 3-word mantra.
*CLICK* below to find progressive hints for each puzzle. Each hint reveals more explicit information about how each puzzle works, so click for hints in order as needed. The last hint for each puzzle provides a full solution.
Additionally, a few puzzles require cutting but will leave all the non-puzzle content of the journal intact.
Bob Bosch Puzzle
Where to Start
This puzzle starts with the description of the binary search algorithm on page 103.
Hint 1
The algorithm provides an example that is 128 items long. What else do you have that’s the same length?
Hint 2
Apply a binary search to the journal itself. You’ll find some useful markings on each page you visit.
Hint 3
The algorithm ends at the portrait of Obama on pages 94-95. The letters you’ve collected along your search tell you where to look.
Solution
Apply a binary search algorithm to the Tangram Vol 1 journal. Start at the midpoint of the 128 pages (page 64) and continue onto pages 96, 80, 88, and 92. The < or > on each page tells you whether to look in the left or right half next. Along the way, collect the letters IN EAR.
You’ll end up on the Obama spread on pages 94-95. In Obama’s ear, you’ll find the answer ICONIC hiding in plain sight.

Note: on its own, the N in ICONIC could just as easily be an H or M in this low resolution font, but it’s unambiguously an N in context of the word.
Polly Morgan Puzzle
Where to Start
This puzzle uses the block of lorem ipsum text on page 122.
Hint 1
Look closely at the text. Do you notice anything off?
Hint 2
As you find “typos” in the text, pay attention to the shape they forming.
Hint 3
Read along the serpentine path of typos to obtain some familiar text, plus a little something extra…
Solution
The full lorem ipsum repeats three times: the first is the unmodified original, and the second and third are riddled with incorrect letters. Noting the positions of these incorrect letters, using the unmodified copy of the text as reference, yields the following serpentine form:

Follow the snake of changed letters to get yet more lorem ipsum text with extra letters in the spaces between words. These letters spell out THE ANSWER IS HISTORY (or hissssss-tory, to stay on theme for this puzzle.)
Kelli Anderson Puzzle
Where to Start
This puzzle uses the colorful grid on page 64.
Hint 1
The grid consists of 10 pairs of letters overlaid on each other.
Hint 2
Do you notice any pattern amongst the letter pairs that would allow you to put them in an order?
Hint 3
Using one of the letters from each of the pairs, you can find the letters A-J.
Solution
Transcribe each of the 10 bigrams. From just the artwork, there’s no indication of which letter goes first in each pair. In page order, these pairs are: DL, EV, CE, EF, AT, DJ, IL, FG, HO, and BW.
Then, employing some basic logic, we can uniquely reorder these bigrams by consecutive letters of the alphabet, A-J, to get: AT, BW, CE, DL, EV, FE, GF, HO, IL, JD. The other letter from each bigram yields the answer TWELVEFOLD.
Note: The illustration for this puzzle is based on Kelli Anderson’s risograph depiction of 2-letter Scrabble words.
Oscar Ukonu Puzzle
Where to Start
This puzzle uses the strip of strange markings on the edge of page 84.
This puzzle requires cutting.
Hint 1
Cut off the strip along the dashed line. The text alongside the strip — “Gets wrapped up in his work….” — hints at what to do next.
Hint 2
To solve this puzzle, you’ll also need a certain common object that is central to Oscar Ukonu’s art.
Hint 3
Wrap the strip of paper around a standard ballpoint pen at a slight angle, like a scytale.
Solution
Cut out the strip along the dashed line. Wrap it around a standard ballpoint pen — the primary tool in Oscar Ukonu’s work, as noted throughout the article — to reveal the word MAGIC when viewed from an angle.
Tobias Dostal Puzzle
Where to Start
This puzzle starts with the fold-out on pages 31-34.
Hint 1
Accordion fold the artwork to make a physical lenticular image as instructed. Does that change anything else?
Hint 2
Once you’ve folded the artwork, looking at the reverse side from one side reveals an instruction in the otherwise random text. (Looking from the other direction gives nonsense.)
Hint 3
Look up what a “tap cipher” is. Where could you apply a tap cipher on the flip side from where you got the instruction?
Note: In this style of puzzles, internet searches are not just allowed but often required. Unlike in crossword culture, you’re not expected to know everything in advance, and puzzles may lead you down interesting research rabbit holes.
Hint 4
The dashed fold lines on the artwork, when interpreted as a tap cipher, lead you to the back cover, where you’ll need to look very closely.
Hint 5
The “specks” are tiny grey dots around the middle two columns of the journal’s back cover. There’s a pair of specks surrounding each of the 9 blocks. A ruler or straight edge will be helpful for this final step.
Solution
Accordion fold the artwork, then view the strange text on the reverse from on side to reveal the message: TAP CIPHER ON FLIP SIDE.
On the reverse side of this page, back on the artwork side, the dashed lines indicating where to fold can be interpreted as a tap cipher, with each column encoding a letter. There are somewhere between 1 and 5 dashes on each the top and bottom, forming pairs of numbers. This translates to: FLIP TO BACK COVER AND CONNECT SPECKS.
On the back cover of the journal, there are 18 small grey specks around the middle two columns. They are barely noticeable unless you’re looking for them. A pair of specks surrounds each of the 9 horizontal sections. Carefully connect these pairs with straight lines to reveal a single letter crossed by each, leading to the answer FLIPPANCY.

Kensuke Koike Puzzle
Where to Start
This puzzle uses the 3 circles on page 87, along with a particular page in Kensuke Koike’s article.
Note: This puzzle requires cutting.
Hint 1
Cut out the three circles. Determine how the medium circle aligns on the large circle.
Hint 2
In Kensuke’s article, do you see anything that is similar in size and shape to what you’ve cut out?
Hint 3
The circles nest within each other and fit within the circular text on page 38, such that each of the paths leaving the large circle connects to a letter in the circular text.
Hint 4
To find the solution, orient the smallest circle so that the SOLUTION connects to another SOLUTION. There is only one position where this is possible.
Hint 5
Once each of the letters in SOLUTION on the smallest circle connects to that same letter somewhere in the surrounding circular text, you still have some extra paths you haven’t yet used.
Solution
Cut out the 3 circles on page 87. The rotating concentric circles allude to the journal’s cover artwork, connecting these pieces to the article about Kensuke Koike. The circular text on the first page of that article (page 38) fits around the large circle, with the outgoing paths of the large circle aligning with each letter of the text. Place the medium circle on the large circle such that all the connections match up. The small circle fits on the medium circle, and it can rotate through eight different positions.
2 paths lead out from each letter of SOLUTION in that small circle. Find the orientation of that circle where one of the paths for each letter connects to a matching letter on the outside text, i.e. S connects to an S, O connects to an O, etc. The letters obtained from following the unused paths, in SOLUTION order, give the answer TREASURE.
Metapuzzle
Where to Start
This puzzle uses the 6 artist puzzle answers and the fake subscription card.
Hint 1
Fill your answers into the form. The silly labels above the fields are meaningless, but the length of each field will help determine which answer goes where.
Hint 2
The subscription card includes another rather circuitous element which will help to find additional meaning in the answers.
Hint 3
Hold the card up to the light so the squiggly path on the other side is visible through the paper.
Solution Part 1
Fill in the six answers on the fake subscription card. The answer lengths are unique, allowing you to determine which field each fits into.
Then, hold the card up to the light. The twisty path on the opposite side passes through letters in the feeder answers, spelling out the phrase: FIFTH WORDS PRIME PAGES.

Hint 5 (starting once you have a 4-word instruction)
When you have the message FIFTH WORDS PRIME PAGES from the subscription card, apply this to the entire journal.
Hint 6
Read the fifth word on every prime-numbered page of the journal, yielding a new instruction phrase. “Fifth word” always means the fifth word reading left to right, top to bottom, however the page might be laid out.
Solution Part 2
The fifth words on prime-numbered pages of the journal give the instruction (with page numbers in parentheses):
FANTASTIQUE (2) WORK (3)!
CUT (5) OUT (7) SIX (11) L (13) SHAPES (17) ON (19) SUMMARY (23) PAGE (29).
MOUNTAIN (31) FOLD (37) ALONG (41) SQUARES (43).
STACK (47) AND (53) TAPE (59) MATCHING (61) COLORS (67) WITH (71) STARS (73) VISIBLE (79) ON (83) INTERIOR (89).
THEN (97) READ (101) OPPOSITE (103) FACES (107) FOR (109) A (113) MESSAGE (127).
Hint 7 (starting once you have a much longer instruction)
Once you have the long instruction that starts with FANTASTIQUE WORK, the next step is to find the Summary page. This page appears at the very end of the journal and is clearly labeled with the word “Summary.”
This puzzle requires cutting.
Hint 8
The message instructs you to cut out 6 L shapes. Each L consist of 5 adjacent squares.
Note: These L shapes don’t have explicit dashed cut lines, but it should be clear where to cut. Cut around the outside of each L, not along the individual squares.
Hint 9
Looking at the tangram letters and numbers, how many do you see of each color? Of each color with a star?
Hint 10
Stack matching colors, with the stars on the inside and the artist images on the outside. This won’t stay flat for long.
Hint 11
When correctly assembled, you’ll have made a rhombicuboctahedron with triangular holes.
Hint 12
Look through the triangular holes to examine pairs of opposite faces on the inside of the structure. Do you notice a pattern?
Solution Part 3
This final part of the metapuzzle has a few stages and requires both folding and cutting.
1. Preparation: CUT OUT SIX L SHAPES from the SUMMARY PAGE (pages 124-125). Each L is identical in format, with an image in the center and smaller colored squares on the ends of the legs. Then, MOUNTAIN FOLD ALONG SQUARES, i.e. with the Summary page sides facing up, make four creases on each L piece between the squares.
2. Assembly: The next instruction — STACK AND TAPE MATCHING COLORS, WITH STARS VISIBLE ON INTERIOR — has a few layers to it. First, observe that among the tangram letters and numbers, each non-black color repeats thrice. Also, for the smaller squares on the ends of the legs, the tangram color on the back matches the smaller square’s color on the front. In each of these triplets, one face contains a small black star. Stack and adhere together the three faces for each color, ensuring that the star face is visible on the inside and the artwork image is visible on the outside. This will form a rhombicuboctahedron that looks like this:

3. Extraction: The final instruction reads: THEN READ OPPOSITE FACES FOR A MESSAGE. Peering through the triangular holes, notice that pairs of opposite faces always consist of a number and a letter, and the numbers are 1-9. In ascending order, read the opposing letter faces for the final message and key takeaway from this puzzle hunt and the journal overall: ALL IS PLAY!
The Tangram Puzzle Hunt was designed by Matthew Stein. Follow his work at steinium.com and on Instagram @enigmida.


Leave a comment
This site is protected by reCAPTCHA and the Google Privacy Policy and Terms of Service apply.